IMAGES Scroll right . . . annotations below . . .
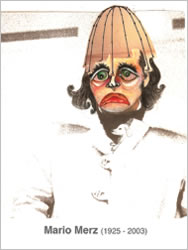
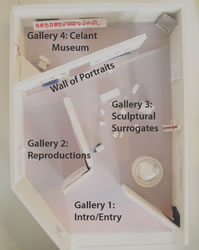
Gallery 4 was to be the Celant Museum. Though visible through a doorway in the Hall of Portraits, visitors would have only have been able to enter by rounding that wall, at the gallery's narrowest end. Containing copies of dozens of Celant's books, posters, architectural models, a writing desk, etc., it was to mimic the design of a provincial history museum dedicated to a home-town hero. (Images will be added soon.)
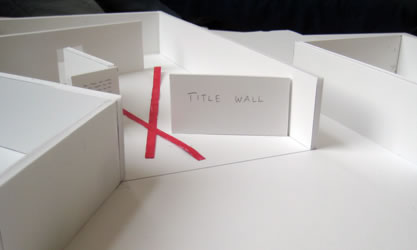
Gallery Layout: The galleries were arranged within the 2,000 sq. ft. space so that the two primary axis formed an "X" -- a subtle nihilist gesture that supported the show's central thesis: that arte povera did not exist.
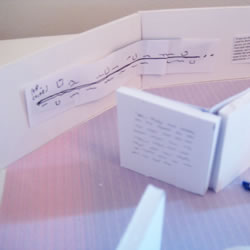
Visitors entered off of the main lobby into Gallery One (the entry gallery), which contained the title wall and substantive introductory text. A timeline to the left charted the changing use/meaning of the term "arte povera" from 1967-2011 and led visitors into Gallery 2.
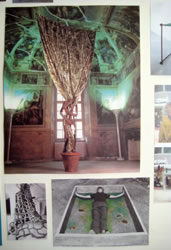
Opposite the timeline in Gallery Two, running the length of the joined freestanding walls, was to be hundreds of full-color reproductions of works attributed to arte povera --some altered by the curators --as well as some simply evoking the movement. None were to be attributed.
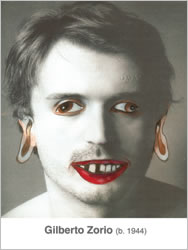
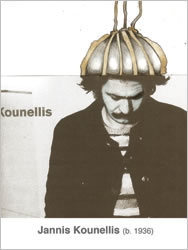
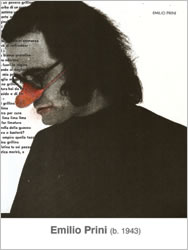
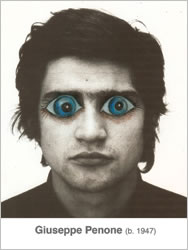
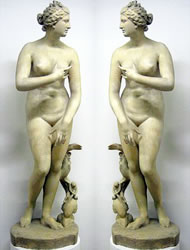
In passing from Gallery Two to Gallery Three, visitors were to skirt the Wall of Portraits, with its posters of 14 artists associated at various times with arte povera.
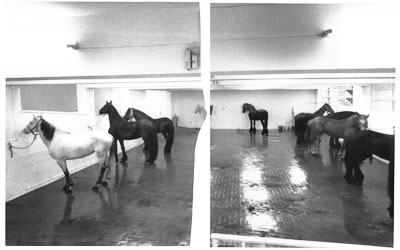
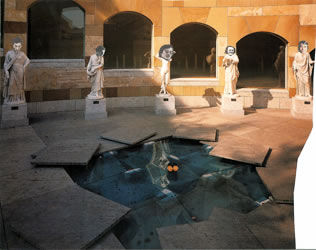
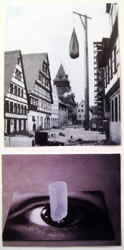
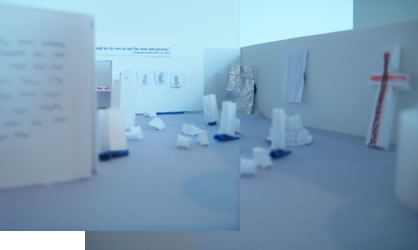
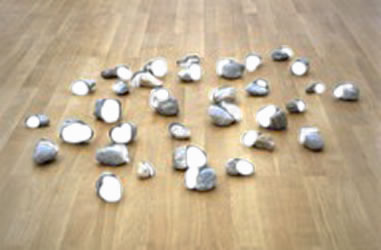
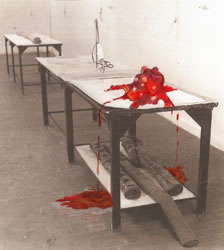
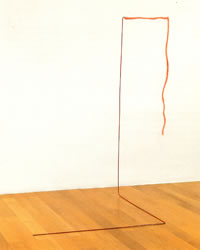
Galley Three was to contain low-budget and inaccurate "remakes" of works by Anselmo, Fabro, Kounellis, Penone, Pistoletto, and Zorio. None of the works would have been attributed. Artissima was to source the materials and Triple Candie was to fabricate the surrogates on-site.
Exhibition Design Concept